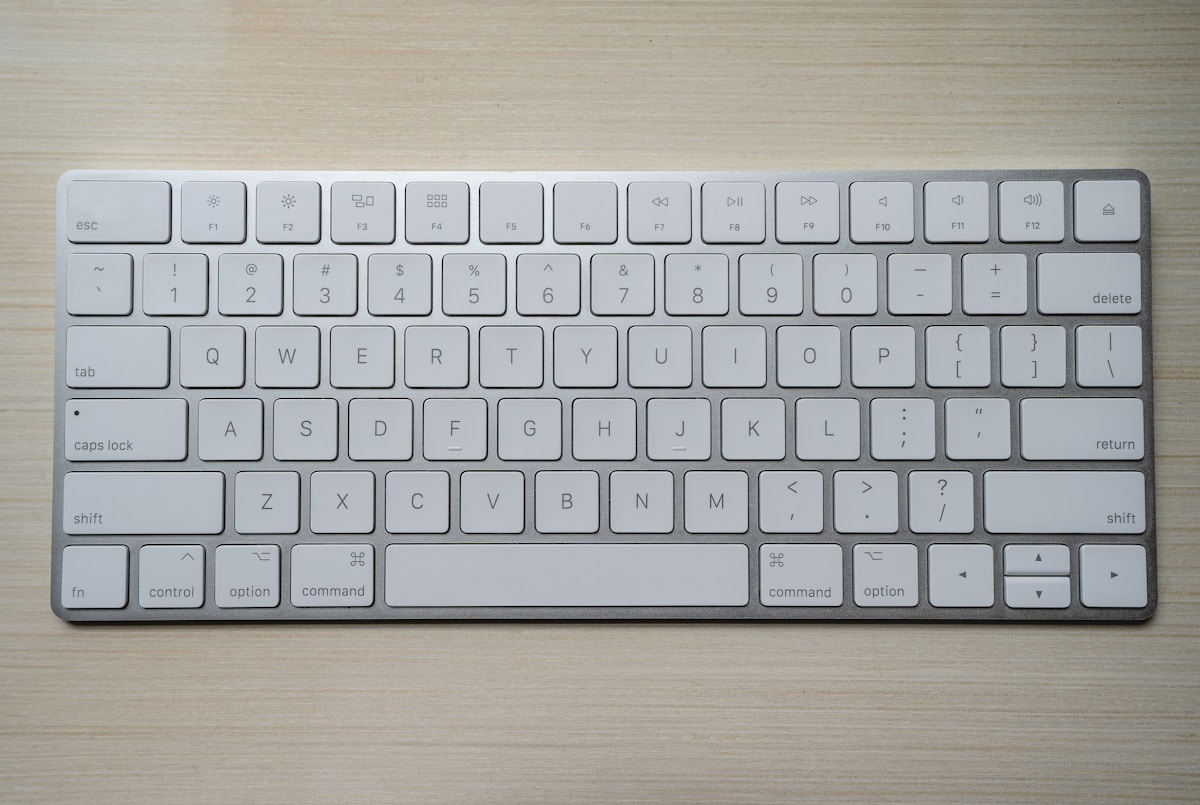
How to Deep Clean a Mechanical Keyboard Without Damaging the Switches
Step-by-step guide to safely disassemble, soak keycaps, and clean mechanical keyboard switches without voiding performance.
How to Deep Clean a Mechanical Keyboard Without Damaging the Switches
If you use a mechanical keyboard daily, chances are it has accumulated more dust, crumbs, and skin oils than you would care to admit. Over time, this buildup does not just look unpleasant — it can affect the feel of your keystrokes, cause keys to stick, and even shorten the lifespan of your switches. A thorough deep clean is one of the best things you can do to restore that satisfying tactile response and keep your board performing like new.
The good news is that cleaning a mechanical keyboard is entirely doable at home, even if you have never taken one apart before. The process requires a bit of patience, a few inexpensive tools, and a clear understanding of what you can and cannot safely expose to water or cleaning solutions. Follow the steps in this guide and you will be able to clean your keyboard confidently without risking damage to the switches or voiding the performance of your board.
Quick Answer
- Remove all keycaps first using a keycap puller, then soak them in warm soapy water for 30–60 minutes.
- Never submerge the PCB or switches in water — use compressed air and a dry or lightly dampened brush instead.
- Isopropyl alcohol (70–90%) is safe for cleaning switch housings and the board surface when applied carefully.
- Allow everything to dry completely (at least 24 hours for keycaps) before reassembling.
- Regular light cleaning every 1–2 months prevents the need for frequent deep cleans.
Pro Tip
Before you start, take a photo of your keyboard layout. This makes it much easier to put keycaps back in the correct positions, especially if your board has non-standard key sizes or a layout you are not fully familiar with yet.
What You Will Need Before You Start
Gathering your supplies ahead of time makes the process smoother and reduces the risk of leaving your keyboard disassembled longer than necessary. Here is what you should have on hand:
| Tool / Supply | Purpose | Approximate Cost |
|---|---|---|
| Keycap puller (wire type preferred) | Removes keycaps without scratching | $5–$10 |
| Compressed air canister | Blows out loose debris | $5–$12 |
| Isopropyl alcohol (70–90%) | Disinfects and dissolves oils | $3–$8 |
| Small soft-bristle brush | Scrubs between switches | $2–$5 |
| Microfiber cloth | Wipes surfaces without scratching | $3–$8 |
| Small bowl or container | Soaks keycaps | Already at home |
| Mild dish soap | Cleans keycaps | Already at home |
| Toothpicks or cotton swabs | Detail cleaning around switches | $1–$3 |
| Lint-free towel or drying rack | Drying keycaps | Already at home |
A wire keycap puller is strongly recommended over the plastic ring style, as ring pullers can scratch or chip keycap legends over time.
Step-by-Step: How to Deep Clean a Mechanical Keyboard
Step 1 — Unplug and Photograph Your Keyboard
Always disconnect your keyboard from your computer before doing anything else. If it is a wireless keyboard, turn it off and remove the batteries. Then take a clear photo of the full layout so you have a reference for reassembly.
Step 2 — Remove All Keycaps
Use your wire keycap puller to gently hook under each keycap and pull straight up with even pressure. Avoid twisting or yanking at an angle, which can damage the switch stem underneath. Work your way across the board systematically — row by row is easiest.
Set the keycaps aside in a bowl or container. Be especially careful with larger keys like the spacebar, shift keys, and enter key, as these often have stabilizers attached. You can remove the stabilizer bars as well if you want a thorough clean, but this is optional for a standard deep clean.
Step 3 — Soak the Keycaps
Fill your bowl with warm (not hot) water and add a small drop of mild dish soap. Place all the keycaps into the water and let them soak for 30 to 60 minutes. This loosens oils, grime, and any sticky residue without requiring aggressive scrubbing.
After soaking, gently agitate the keycaps with your fingers or a soft brush to remove remaining dirt. Rinse them thoroughly under clean running water to remove all soap residue. Lay them out on a lint-free towel or a drying rack and allow them to air dry completely — this typically takes a minimum of 8 hours, but leaving them overnight is the safest approach.
Do not use hot water, as it can warp keycaps, especially those made from ABS plastic. PBT keycaps are slightly more heat-resistant, but warm water is still the safest choice for both materials.
Step 4 — Clean the Keyboard Plate and PCB Area
With the keycaps removed, you now have full access to the switch plate and the spaces between switches. Start by holding the keyboard upside down and gently shaking it over a trash can to dislodge loose crumbs and debris.
Next, use short bursts of compressed air to blow out any remaining particles from between the switches. Hold the can upright and keep it a few inches away from the board to avoid moisture from the propellant reaching the PCB.
Follow up with a small soft-bristle brush (an old toothbrush works well) to sweep debris toward the edges of the board. Work in small sections and use gentle strokes — you are not scrubbing, just guiding particles out.
Step 5 — Clean Around the Switches
Dampen a cotton swab or microfiber cloth lightly with isopropyl alcohol. Wipe around the base of each switch housing to remove oil buildup and grime. The alcohol evaporates quickly, which is why it is safe to use near electronics when applied sparingly.
Do not pour or spray alcohol directly onto the board. Apply it to your cleaning tool first, then use the tool on the keyboard. Avoid getting liquid into the switch housing itself unless you are performing a dedicated switch cleaning procedure (covered below).
For stubborn grime in tight corners, a toothpick wrapped with a small piece of microfiber cloth or a cotton swab works well for precise detail cleaning.
Step 6 — Clean the Keyboard Case
Wipe down the exterior of the keyboard case with a microfiber cloth lightly dampened with isopropyl alcohol. Pay attention to the sides, bottom, and any textured surfaces where oils tend to accumulate. Allow the case to air dry fully before reassembling.
How to Clean Mechanical Switches (Without Removing Them)
Most switches do not need to be removed from the PCB for a standard deep clean. Here is how to freshen them up in place:
- Compressed air is your first line of defense for clearing dust and debris from inside the switch housing.
- A dry brush can help dislodge particles around the stem area.
- If a switch feels sticky or scratchy, a very small amount of isopropyl alcohol applied with a cotton swab around the stem can help dissolve residue. Press the switch several times after application to work the alcohol through the mechanism, then allow it to dry completely.
- Do not lubricate switches with WD-40 or general-purpose oils. These attract more dust and can damage the switch over time. If you want to re-lube switches, use a dedicated switch lubricant like Krytox 205g0 or Tribosys 3203.
Should You Remove Switches for Cleaning?
Unless a switch is malfunctioning or you want to fully re-lube it, removing switches from a soldered PCB is not recommended for a routine clean. Desoldering requires specific tools and skills, and repeated desoldering can damage PCB pads over time.
If your keyboard is hot-swap compatible, you can remove switches more easily using a switch puller. This allows for a more thorough clean of both the switch and the PCB socket area. Even so, this level of disassembly is only necessary for heavily soiled boards or when performing maintenance like lubing or replacing switches.
How Often Should You Deep Clean a Mechanical Keyboard?
The right cleaning frequency depends on how heavily you use your keyboard and your environment. Here is a general guideline:
- Light cleaning (compressed air + wipe down): Every 2–4 weeks
- Keycap removal and surface clean: Every 2–3 months
- Full deep clean with keycap soak: Every 6–12 months
If you eat near your keyboard, have pets, or work in a dusty environment, you may want to clean more frequently.
Common Mistakes to Avoid
- Using paper towels on keycaps or the board surface — they can leave fibers and scratch soft plastics.
- Reassembling before everything is fully dry — even small amounts of moisture can cause shorts or corrosion.
- Using bleach or harsh chemical cleaners — these can discolor keycaps and damage plastics.
- Forcing keycaps back on at an angle — always press straight down to avoid bending or breaking switch stems.
- Skipping the photo before disassembly — this is a small step that saves a lot of frustration.
FAQ
Can I put my keycaps in the dishwasher? It is not recommended. Dishwashers use high heat and strong detergents that can warp ABS keycaps and fade legends. Hand washing in warm soapy water is the safest and most effective method.
Is it safe to use isopropyl alcohol on keycaps? Yes, isopropyl alcohol is generally safe for cleaning keycaps, but avoid soaking them in it. A light wipe is fine for disinfecting. For a thorough clean, warm soapy water is still the preferred method.
Can I use a vacuum cleaner to clean my keyboard? A small handheld vacuum on a low setting can be useful for removing loose debris, but be cautious around switches — strong suction can potentially dislodge switch stems or keycaps. Compressed air is generally safer and more precise.
What if a switch still feels sticky after cleaning? If a switch remains sticky after cleaning with compressed air and isopropyl alcohol, it may need to be replaced or re-lubed. On a hot-swap board, this is straightforward. On a soldered board, you may want to consult a keyboard repair service or learn basic desoldering techniques.
How do I dry keycaps faster? After rinsing, shake off excess water and lay keycaps on a dry towel in a single layer. A fan directed at the keycaps can speed up drying significantly. Avoid using a hair dryer on a hot setting, as heat can warp the plastic.
Conclusion
Deep cleaning a mechanical keyboard is a straightforward process when you approach it methodically and respect the boundaries of what should and should not get wet. The key principles are simple: soak the keycaps, use compressed air and isopropyl alcohol for the board itself, never submerge electronics, and always allow everything to dry completely before reassembling. Done right, a deep clean can make an older keyboard feel almost brand new and extend its useful life by years. Building a regular light-cleaning habit between deep cleans will make the whole process faster and easier every time.